1. It's cheaper than buying prestretched linen canvas.
2. You can pick your own grain.
3. The time you have finished stretching a canvas you feel it's part of you. The painting as it were has begun, your relationship with it cemented.
I managed to persuade a friend to try this who has always bought their own premade ones. They didn't get half way thru and realised what they had missed out on. A private personal relationship with their work.
If you're worried about the time involved - it doesnt really take that long to be honest and if it still bothers you - don't give up your day job and forget the meaning of art. (This is unless you are physically unable to stretch canvas due to health problems of course - I'm not that mean really!)
Firstly, know what you are going to paint. This kind of sounds stupid but you'll see there's madness in my method. The reason for this is you need to select the type of grain in your linen before you stretch it. You also need to think about the painting and composition before you choose what size stretchers to use. In general terms I generally have worked on paintings in my mind for anything upto six years in advance before I actually stretch the canvas for the painting. This means I have the size canvas in mind and the basic composition in mind before I purchase.
With that in mind - if you are painting a portrait in the style of DaVinci you'll need a smooth fine grained linen. In contrast if you paint in a textured manner more say like Lucien Freud, you can choose a larger grain thicker linen that will hold the heavier mass of paint more easily.
So having purchased your linen from London (because you now know it's much cheaper than buying in NZ) you gather together your canadian cedar stretchers, made to the appropriate size. You'll need a few tools: Hammer, flathead screwdriver is handy, artist stretching pliers, artist tacks preferably, sandpaper and a tape measure.

Put together the stretchers to form your rectangle or square.
Check edges are smooth and no sharp points at the corners as these can pierce your linen and make a hole. Sand as required. Clean off dust.
Lay your linen flat on the ground - making sure surface is clean and even.
Now lay your stretcher onto your linen. Please note: stretchers of any note have a sloping side and a flat side. You want the flat side to be facing upwards away from your linen. Now measure the diagonals of your stretcher and make sure it is square. Check both diagonals carefully and make sure the 2 measurements are the same to the millimetre. Anything beyond 2mm is totally unacceptable in my view.
(Photo to follow)
Now make sure the grain of your linen, the weave is straight and in line with the sides of your stretchers.
Adjust as needed and re-measure your diagonals. (You'll hear this a lot from me...)
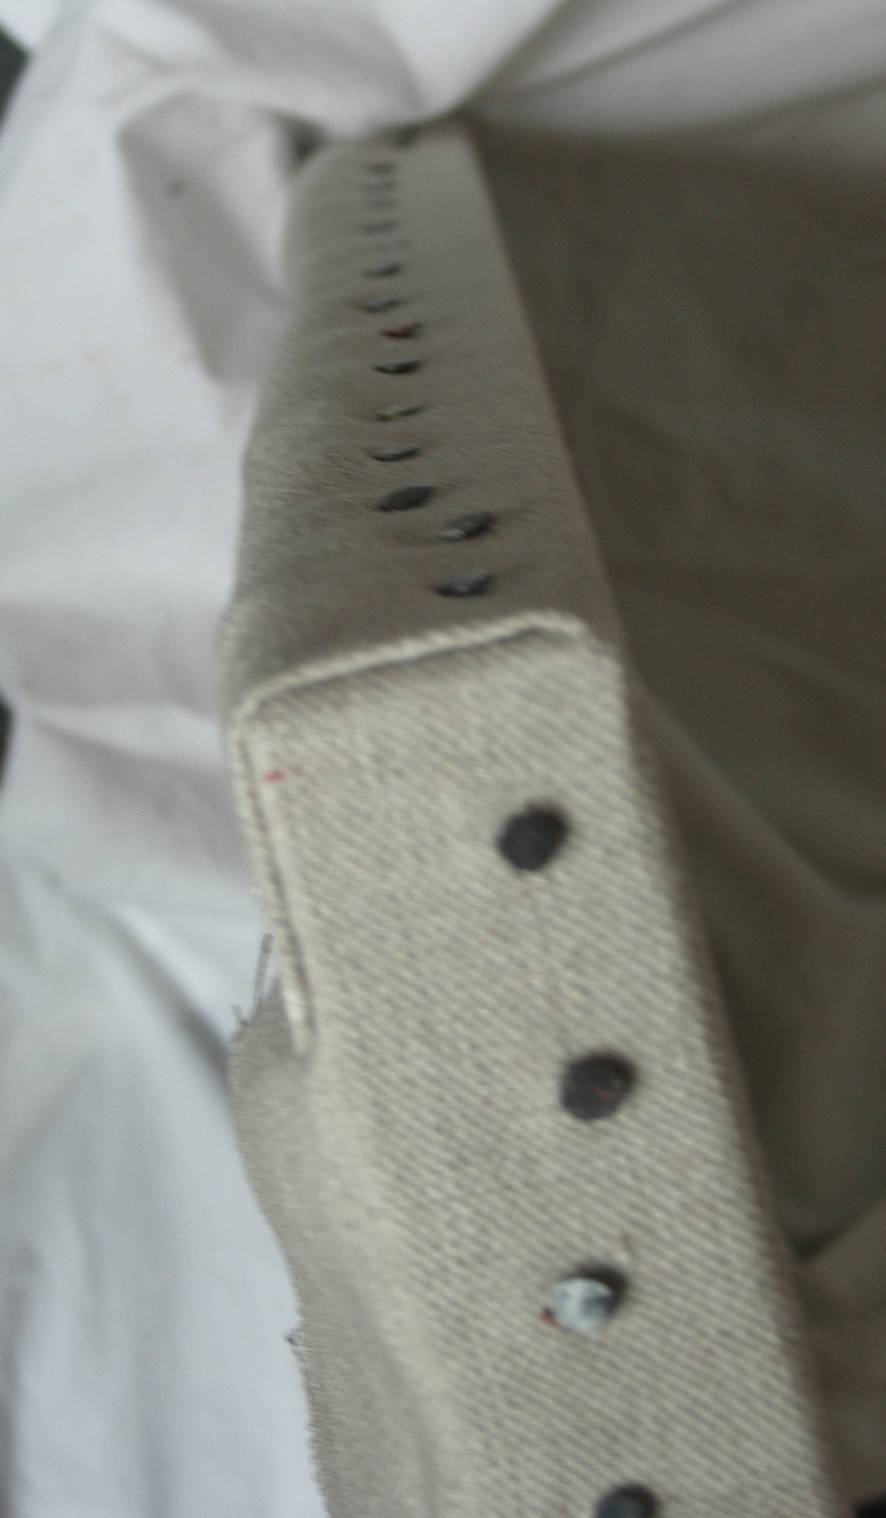
Now cut your linen about 50mm from your stretcher. (Make sure this measurement matches the size of stretcher you are using. You want to aim for the linen to come up the sides of the stretcher and then fold over onto the flat side by about 50%.)

Now take 4 tacks and attach one in the middle of each stretcher. Work opposite sides - stretching the linen at this stage with the wide pliers.
(Photo to follow)
Now work one side at a time, again working opposites but each side work out from the centre leaving about 50mm at each end free of tacks.
(Photo to follow)
At about half way thru re-measure your diagonals and make sure the stretchers are still square.
Complete this process until it is stretched with one final measure of diagonals.

Now the corners. There is not 'set' way to do this but the principle is to get them as tiday, as flat and as consistant as possible. No easy way to explain this process so hopefully the following photos work for you.


Now you should have a neat and true stretched linen canvas. A canvas that is part of you. The reason your canvas needs to be 'square' or 'true' is:
1. it stands out a mile if it isnt on a white wall of a gallery.
2. If you put any frame around it it will need to be 'square' so that the framer can fit it properly without having to hack away at the frame moulding.

This canvas was out by 2mm in the diagonals. This can because either the stretcher moved a fraction whilst hammering the tacks or the grain was not 100% straight and thus pulling the stretcher or could just be the way I folded one corner making the linen thicker. So I turned the canvas over to the back and re-measured the internal diagonals of the stretcher and they were spot on. So summary - not a badly stretched canvas but must watch folding of corners to keep the measurements more consistant. I would probably go back and take out the corner tacks and refold.
Next post will look at sizing and priming.

No comments:
Post a Comment